Photograms
Man Ray
|
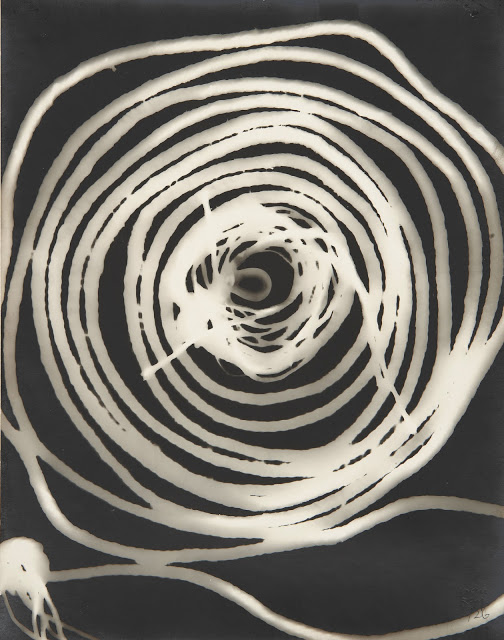
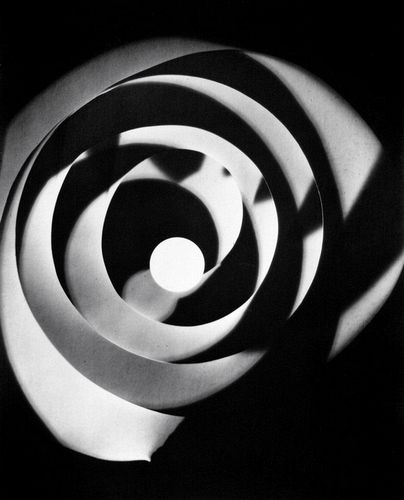
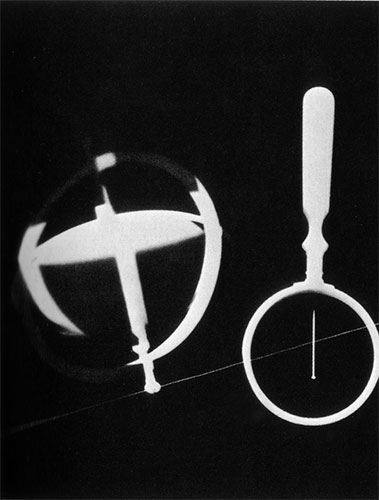
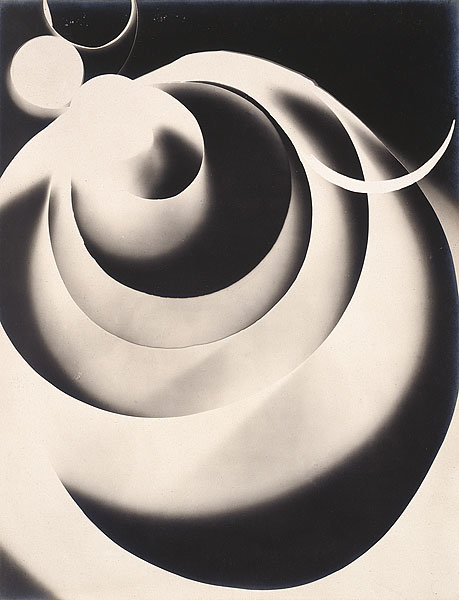
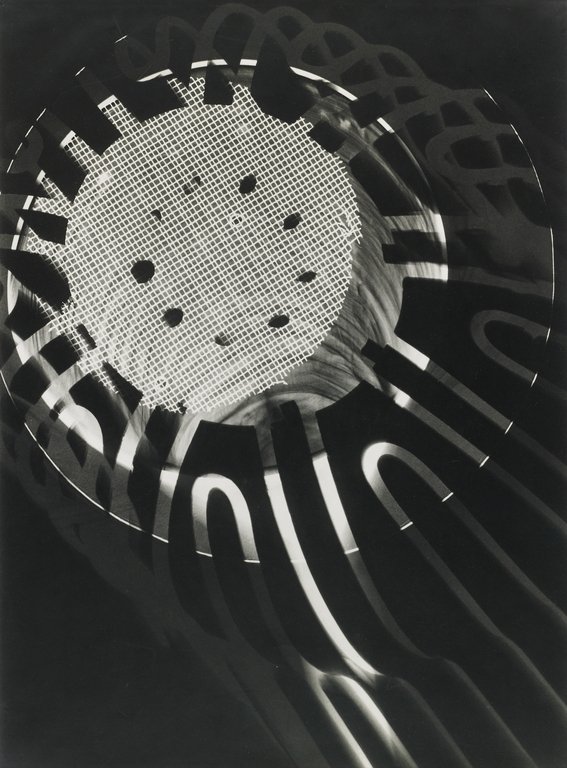
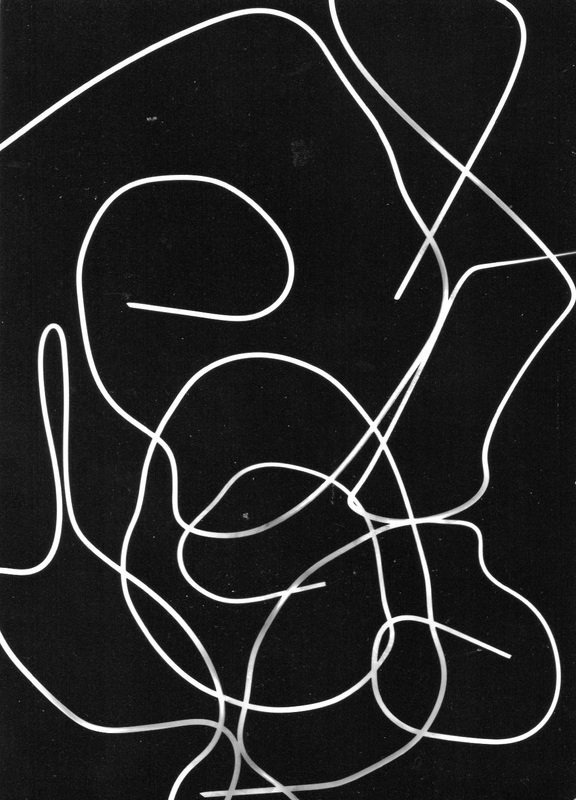
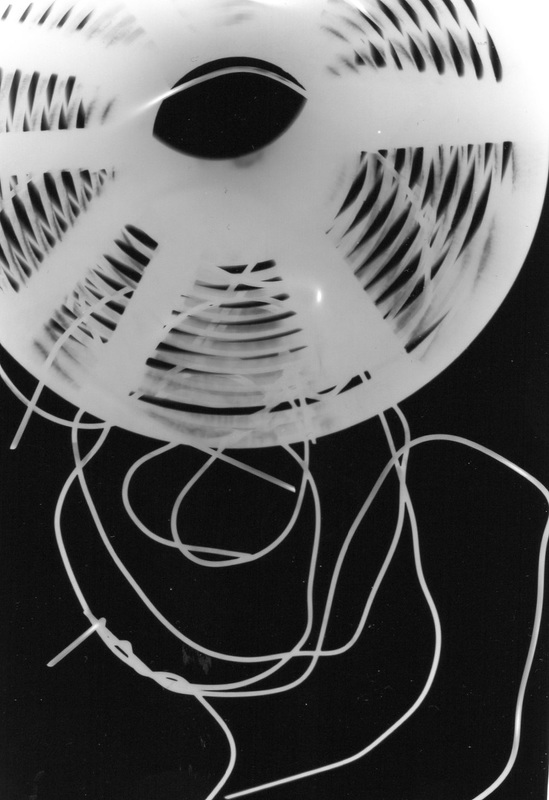
My thoughts on his work are I am interested in the spiral like objects and the shadows they give off on the photogram and you can't tell what most of the objects are this interests me greatly and I would like to see whether I can replicate some of these spirals with other objects. Man ray called his photograms Rayographs and seemed to be interested on curved lines and spirals as seen in these photograms to the right. The light in these photograms has been caught between the edges of the circular objects as well as this each photogram has had a different amount of time within the light due to the photogram with the magnifying glass being over exposed and two of the spiral photograms being underexposed.
|
|
If you want to learn more about Man Ray there is currently a exhibit with the Tate modern called the Shape of Light: 100 Years of Photography and Abstract Art which I highly recommend you check out as well as the www.artsy.net website with an highly detailed biography, exhibition highlights and plenty of his works to browse through.
Moholy Nagy
|
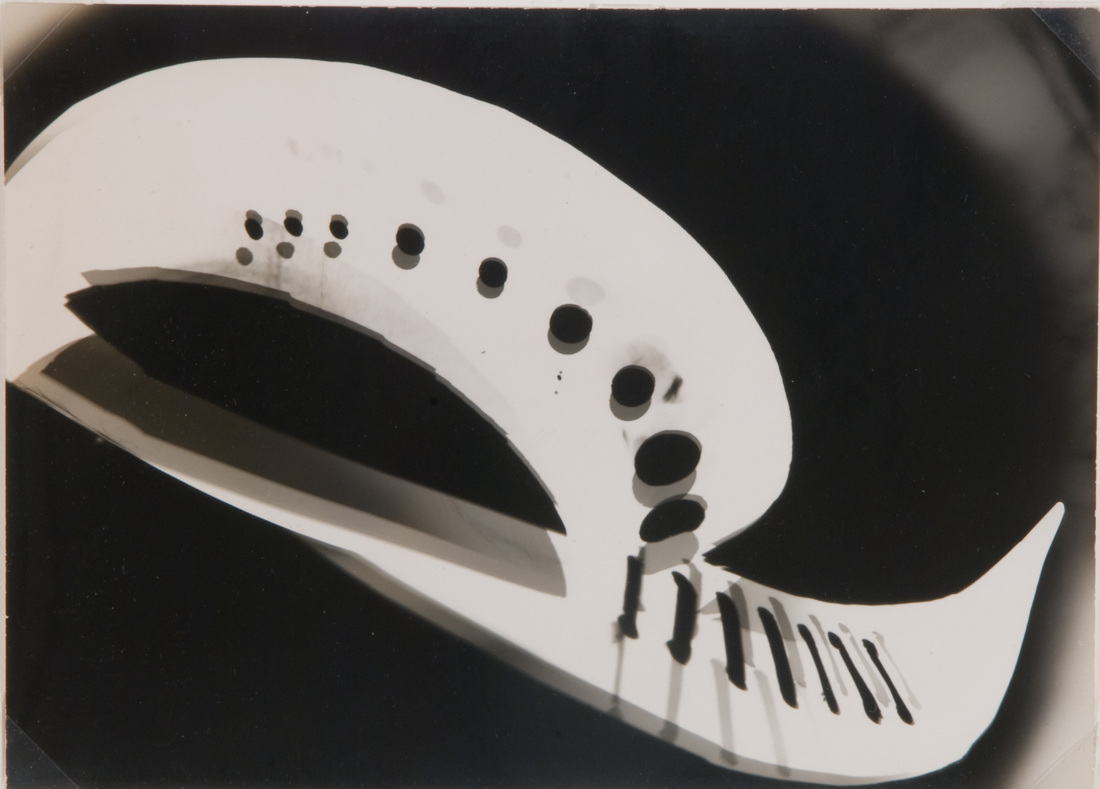
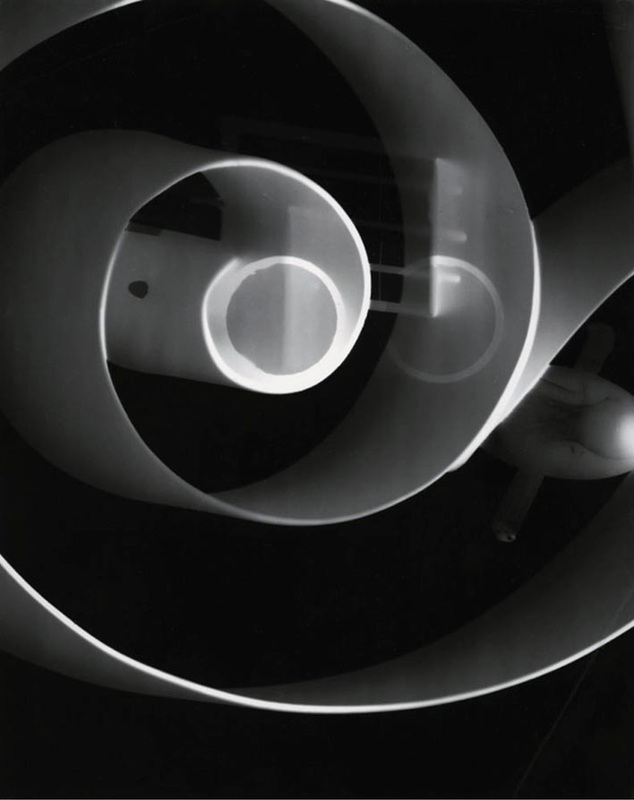
(Laszlo) Moholy Nagy seems to focus on objects that are ether transparent, spiral like or from the human body such as hands and faces this is a interesting use of photogram photography. My thoughts on his work are, I'm interested on his use of objects that are transparent and/or have holes in so they leave unusual patterns and shapes behind I hope to incorporate the use of shadows from ray's photograms with the idea I have gotten from Nagy's.
The light in these photograms has been caught in the side of the plastic in the two photograms to the left while the photogram on the bottom right has caught the light identically to Ray's photograms above and the photogram on the top right has caught light through the small holes in the metal grating and the curves of the other object in the photogram. |
|

Thomas Ruff
|
Thomas Ruff seems to focus on rounded objects which are mainly what appears in his photograms as well as spirals this makes them more interesting since it disjoints all of the objects in the image making some objects even blurred into the background which makes the photogram in some cases look underexposed although it's just the shadow of the objects above. What I like about these images are the fact that the objects are unusual and oddly shaped making it rather out of the ordinary.
|
|
Photograms using my own objects and my first attempt.
|
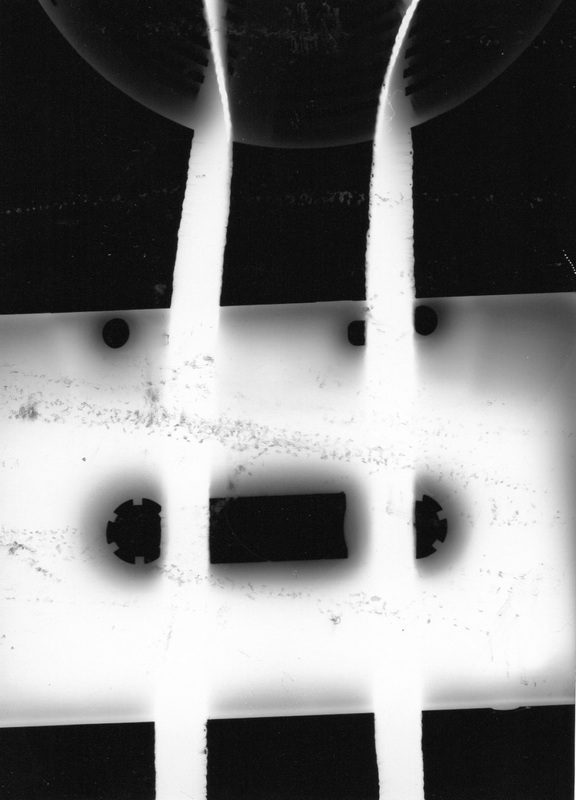
These are my attempts of the three artistes photograms- I used objects that incorporate both lines and curves such as a lanyard strap, a cassette tape and some wire. There were meant to be 2 more photograms as well as these but one was too overexposed and one was completely white due to my hair, what I planned to be the object blocked out all light from reaching the paper. the cassette tape and my hair was exposed for 4.6 seconds on the lowest light setting, the wire was exposed for 4.3 on the mid light setting and the overexposed photogram was on the highest light setting for 2.9 seconds. the photogram with the cassette tape was my first attempt and the one with the wire was is my photogram using my own stuff
|
|
Photograms using paper
|
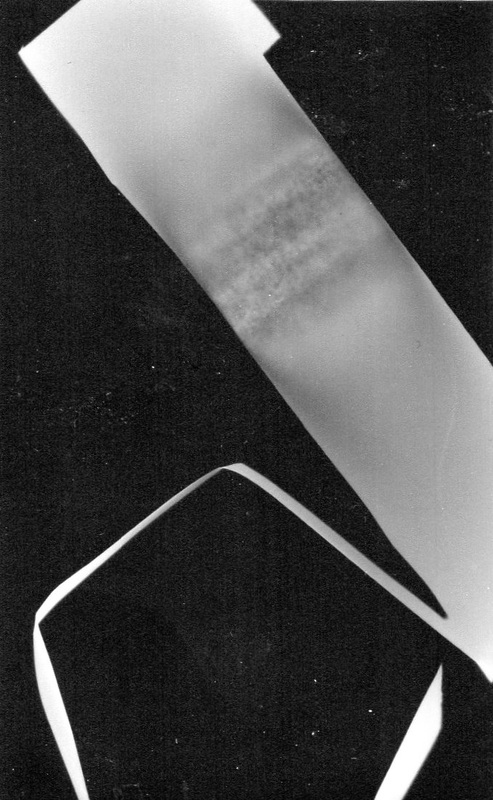
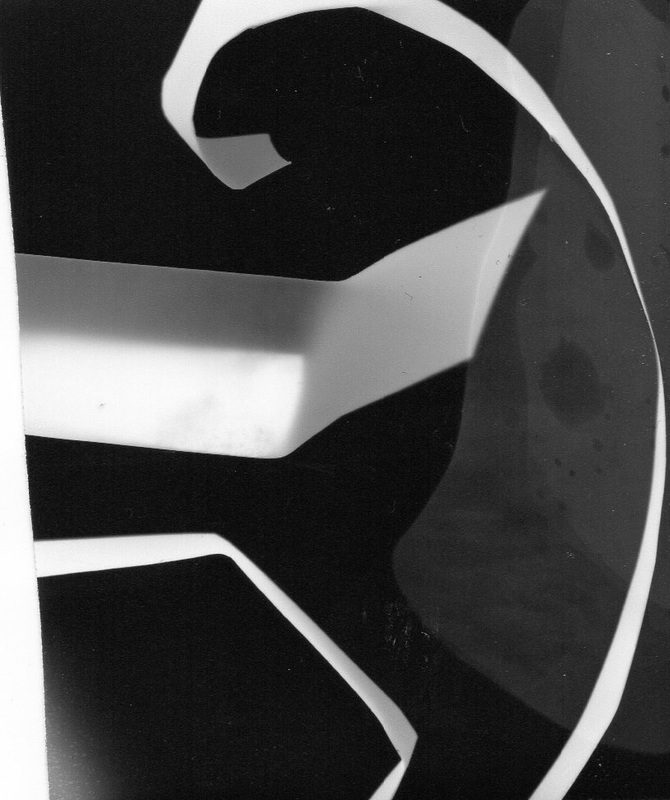
For these photograms the only object we could use was paper and we had to expose them for different times under different light frequencies. The one on the left was exposed for 2.9 seconds under 3.5 frequency, the one on the middle was exposed for 4 seconds under 8 frequency and the one on the right was exposed for 3.6 seconds under 8 frequency.
|
|

Photograms only using my own objects (Theme: curved)
|
All of these photograms turned near perfectly to what I wanted for these I used a broken keyring, a pin, a bracelet, a bendy ruler, my lanyard, my glasses, a hair brush and some wire. For my first photogram I turned the dial to 8 and placed the light on the paper for 3.9 seconds. First I placed the bracelet and the pin to one corner of the paper I did this because I wanted to circles together but of very different sizes also I wanted to see how well the pin showed up, as well as this I wanted to get the bendy ruler half bent so with one hand I had to keep it in place I also placed my glasses in the centre of the photogram diagonally this is one of the things what lead me to the idea of my second photogram. With my second photogram I kept the light frequency at 8 and exposed it for 2.6 seconds since the first came out with little detail on the objects. I firstly bent some wire across the middle of the photogram and also bent the bendy ruler around the bracelet and placed it to one side of the wire, then I placed the hair brush on the other side of the wire, I think this turned out very well or though it's still my least favourite out of the three. For my third photogram I kept the light frequency at 8 and exposed it for 1.5 seconds. I placed the pin in the centre of the paper surrounded by the broken keyring then the bendy ruler followed by the bracelet, this creates a complexed circular shape in the centre of the photogram I then place my glasses on one side of the photogram so the reflection from the circular lens would show up, I then place the end of the hairbrush at the other end since it has a hole in the end of it. This is my favourite due to the complexity of the photogram and the fact it turned out perfect apart from the glasses being slightly off.
|
|
Chemigrams
|
My chemigrams turned out well overall with diversity between them all, unfortunately the chemigram which I used coca cola and a orange tablet on did not have much detail for some reason although the coca cola has left some splash marks throughout the image. The chemigram which I used soap with has turned out like the coca cola and orange table one apart from it looks cloudy with black flowing through it I believe this is due to the soap and it look very unusual. The one with baby oil I also placed in fix as well, this turned it black and white but the baby oil has made parts of the image turn red and/or white this is not what I planned but it looks completely different to what I expected it to do. For all of my chemigrams I used both develop and stop but it was only the baby oil chemigram I placed in fix as well.
|
|
Pierre Cordier
|
Pierre Cordier also known as the father of chemigrams has made numerous chemigrams with interesting patterns and shapes of which make unreal looking patterns in every chemigram he creates. I am extremely inspired by his work since I have a fascination on hidden codes and meaning behind objects and he has captured what I try to make clear in my photographs, which is the chaotic patterns hidden within orderly lines forming a maze within the photograph. I am interested to see how Pierre managed to get his chemigrams like this and I also hope to get my chemigrams up to the style of his with lots of colour and interesting patterns throughout.
|
|
|
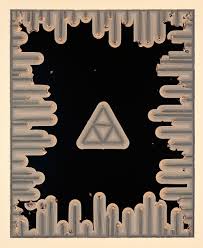
This is my favourite chemigram by Pierre because of the complexity of the shapes and the lines and the strangeness of the near perfect triangle and edging around the dark inside of the chemigram is extremely unusual plus it seems out of place in a chemigram since they are done with multiple different chemicals and you would not expect to see something this ordered in a trial and error based art.
|
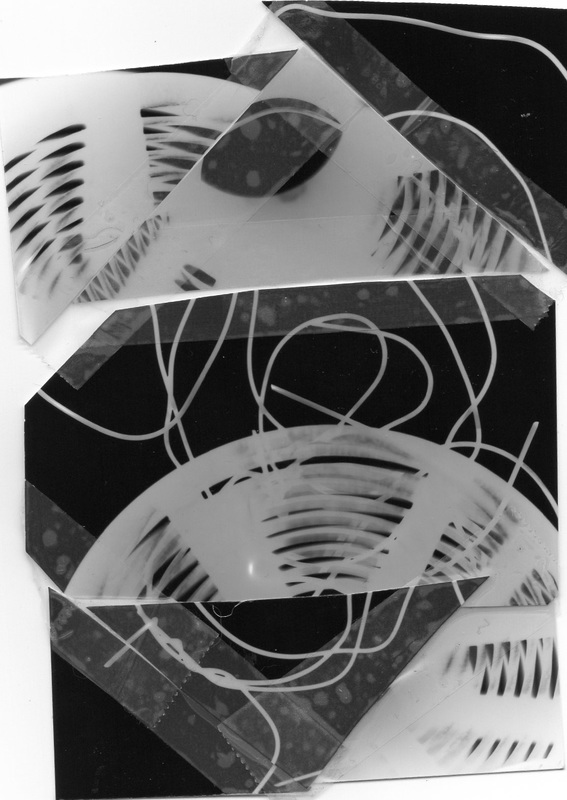
Cutting up photograms
|
This is a photogram I created for the purpose of making a totally different photogram by cutting it up and sticking it together again differently than it was before, for this photogram I used a film reel and some wire which are objects that appear extremely differently in photograms so they stand out from each other as well as this they also represent order and disorder since the lines on the reel are perfectly curved while the wire is randomly curved in different directions.
|
|
|
This is my cut up photogram originally I wanted to only cut off the corners and move them 90 degrees clockwise but in the end I wanted to incorporate disorder to the photogram as well so I cut off the corners and split the photogram into thirds and randomly moved the pieces about so it looks jagged and messy as well as using tape which was not perfectly clear to give it a self made look but it also keeps the order by having multiple lines linking up together with each small part of the photogram.
|
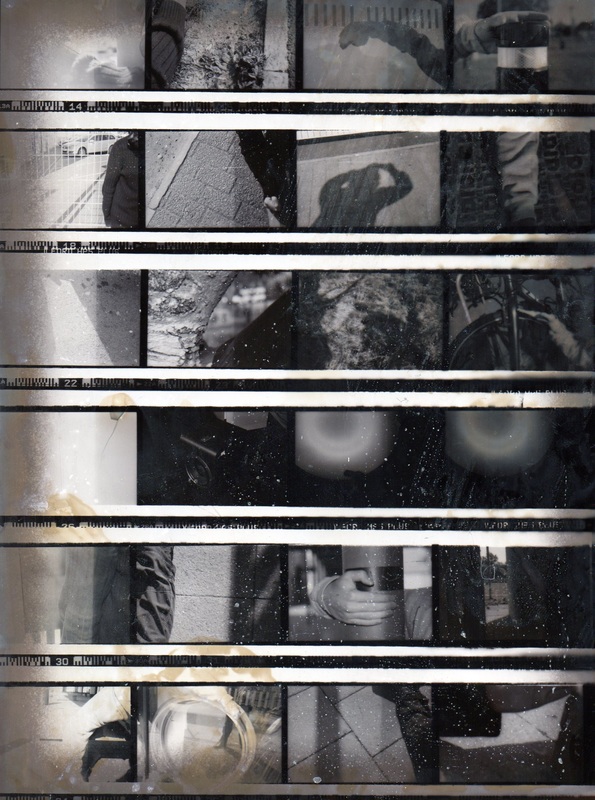
Contact sheet
|
For this experiment I used the film which me and my partner used for an response to Francesca Woodman (See Formal Elements) and we put all of the strips of film in a see-through holder and then we placed a sheet of light sensitive paper underneath and shined a light through the box which caused the light sensitive paper to react which allowed us to develop all of our photographs at once on a single piece of paper, and this was the end result.
|
Hand made negatives
|
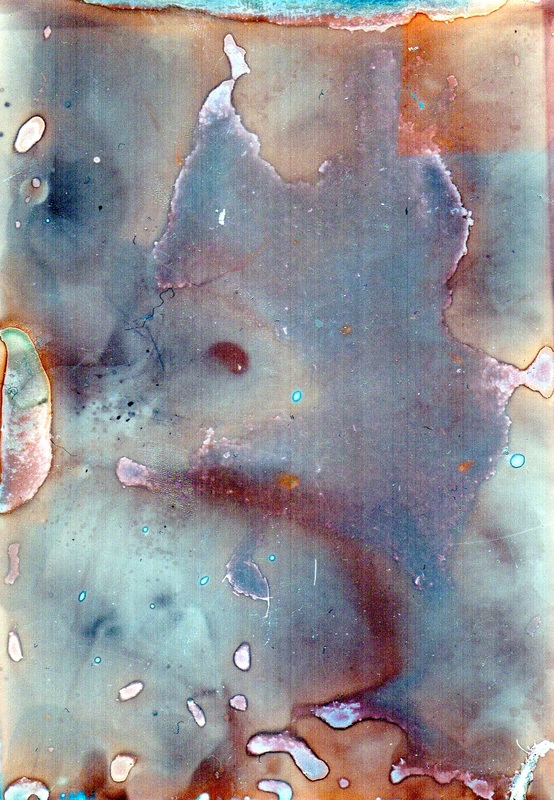
Ink: With this negative I applied the ink with my finger, although I was hoping for my fingerprint to be left behind it did end up having a unusual reaction where some air bubbles ended up creating a droplet like effect in the centre of the negative as well as the ink spreading out although the negative oddly it mainly went to the corners or by the air bubbles.
|
|
|
Scratched: With this one I originally applied blue ink to the centre of the negative before I scratched the acrylic which I planed to catch some ink in the centre of the negative but this had the affect of moving the ink to the sides of the negative out of view which makes this very disappointing but hopefully something turns up when I create a print from this.
|
|
|
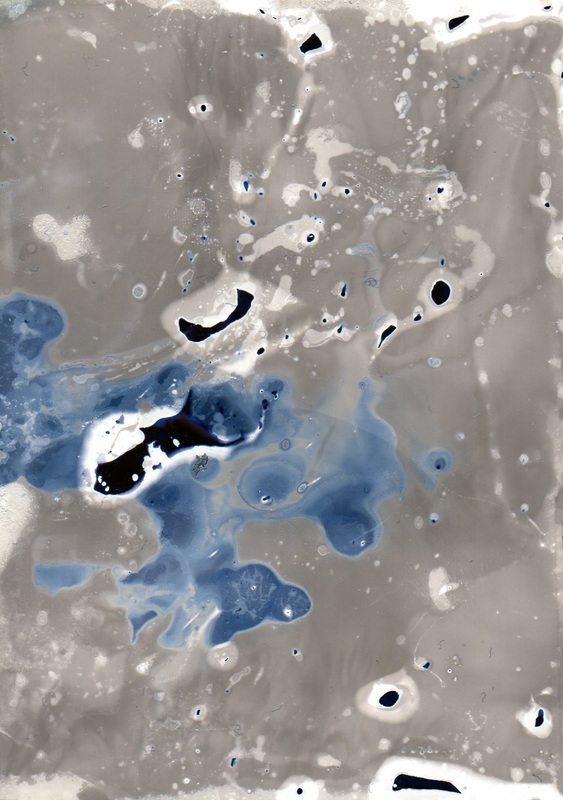
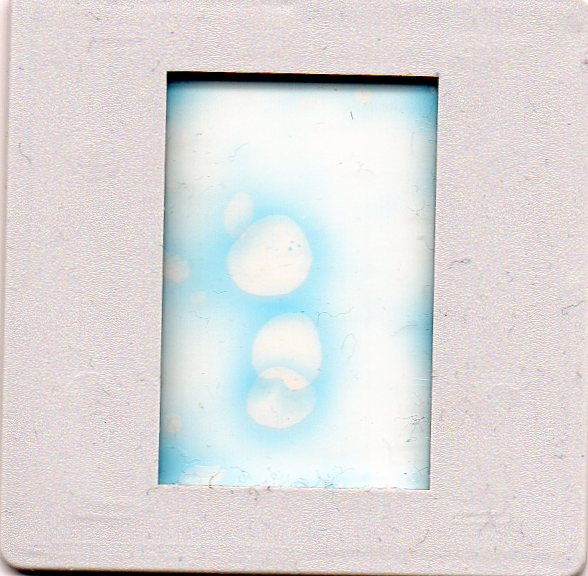
Vaseline and salt: With this handmade negative I applied the vaseline with my finger on both sides of the acrylic, I then poured both the blue and the green ink in the centre of the acrylic, I then poured some salt onto my finger before placing it directly into the ink in the centre. This had the effect I wanted where the ink would be pushed around my finger apart from the small amounts soaked up by the salt which are the blue blobs in the centre of the negative.
|

|
|
For my first hand made negative print I set the exposure to 8 and put the time at 3.6 although it barely came out so for the next two hand made negative prints I kept the exposure at 8 but turned the timer to just 3 seconds although the second print barely came out as well I believed this was just because the scratched negative had very little ink such as the ink one before hand so I tried once more with the salt and vaseline negative and the result was what I was hoping for I had a negative that looked unusual and unique this meant it would stand out above the other two which I was hoping would come out as well but I had a feeling that this would be the result since the first two negatives weren't very good.
|
|
Experimental Photographer : Chris Keeney
|
|
Link to his website: http://chriskeeney.com/gallery/featured-photos. Chris Keeney is a Photographer who has done many types of photography, Such as pinhole and film photography but he mainly uses a colour camera for his photographs, Why I take inspiration from his photos are they are so strange and detailed despite being blurred even though I dislike having my own photographs go like this, it adds a interesting idea to some of my "failed" photographs and gives me many new ideas to work with. His work has not just given me ideas for camera less photography but also ideas for using the formal elements in different ways such as getting distorted lines E.T.C or even using the focus on my camera to manipulate the image I am hoping to take.
|
|
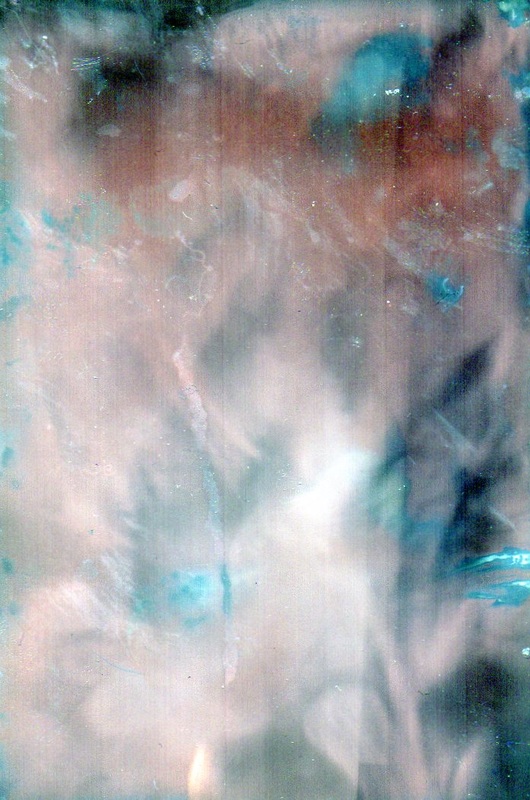
This is my favourite experimental picture by Chris because the picture looks completely unreal since it is clearly taken underwater but every above the surface looks crystal clear with the little girl's shadow clear and in focus, also the sand on the screen of the camera looks like another cloud in the sky and the dirt in the water looks like part of the nearby forest seen in the forest. everything where it is, it's surprising he managed to get everything perfectly in place like this before taking the photo although I don't know whether he waited for it to do this or he just got lucky.
|

|
